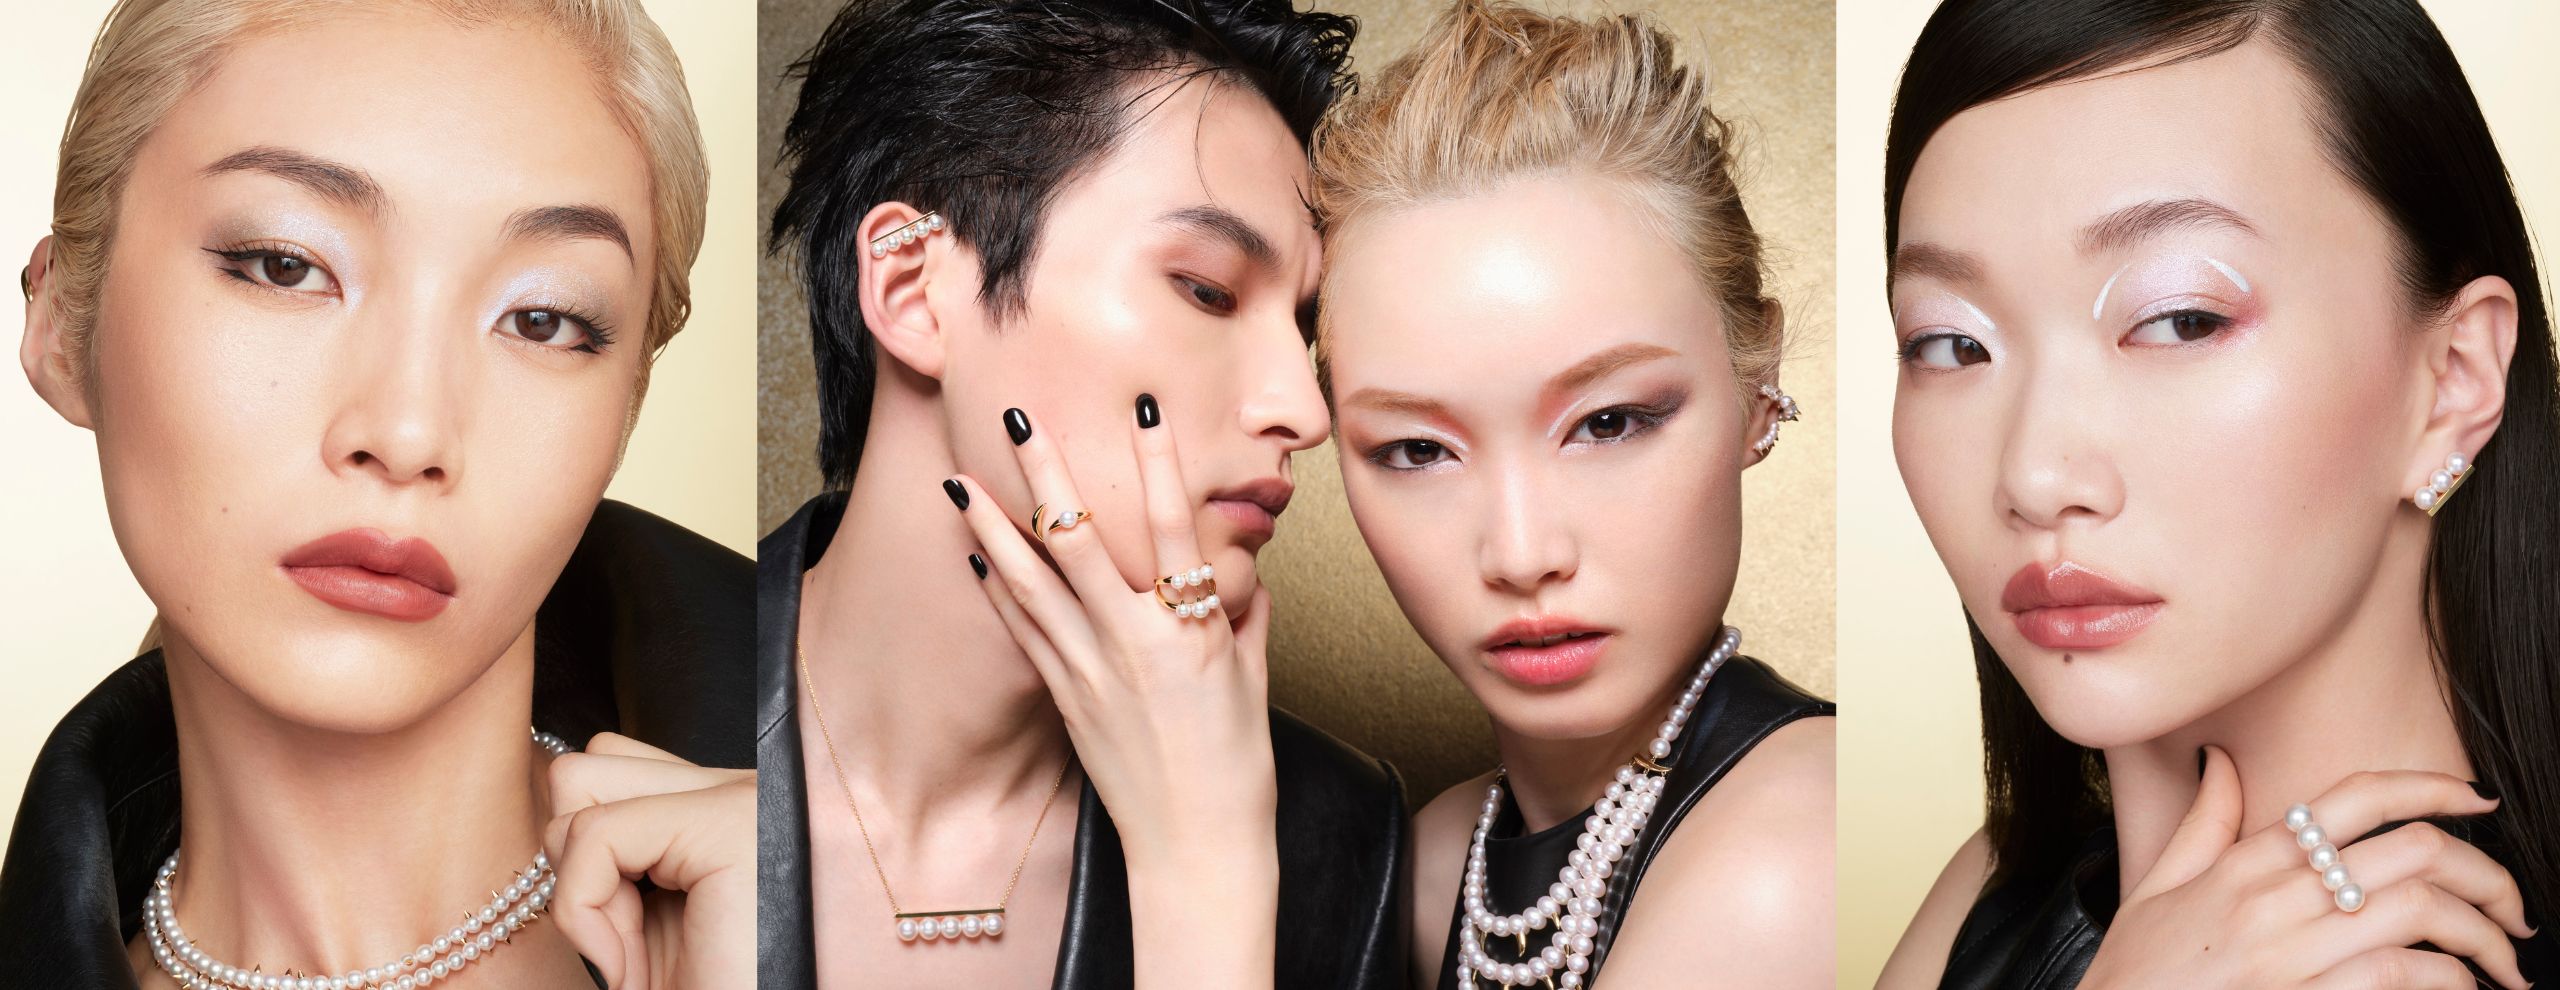
1. Know your face shape
The most basic tip of the lot: you have to know your face shape before we get into it. The contouring regions are highly dependent on the shape of your face, as you’ll need to sculpt areas that are not as defined. Of course, we know everybody’s different, and while you may not have a specific face shape, here’s a rough guide:

Left: Oval face
If you have an oval face shape, you’re considered the lucky one – you’ll only need minimal contouring to highlight to define your high cheekbones.
Middle: Square face
Those with square faces have incredibly sculpted look; with a strong jawline and sharp features. Redefine your facial contours with just a light bronzing on the edges of your face and highlight your nose bridge and forehead accordingly. The end product will be a well-defined face with the focus on the center of your face which will soften your strong features.
Right: Round face
The trickiest face shape to contour would definitely be the round face. No, that doesn’t necessarily mean you’re chubby, it just means that your face shape is naturally fuller and less defined. But a little contouring will do trick. Of course, such heavy bronzing is probably too much for a daily look, so save this full-fledged contouring for special nights when you have the time to spare. On normal days, you’ve to mainly focus on bronzing your jaw line and highlighting your nose for a lifted look. This will highlight your nose bridge and sculpt your jaw, giving you the illusion of a much slimmer face.
2. Use the correct tools
Other than identifying your face shape and key contouring areas, you’ll be needing the correct tools for the job. For highlighting your cheeks, it’s best to use a fluffy fan brush for an easy sweep of highlight across your cheekbones. Go for a small eyeshadow brush to highlight your brow bone, cupid’s bow and the edges of your nose.
Essentially, any normal powder brush would do the trick for bronzing. We especially love using an angled blush brush for the ultimate sculpted look.
3. Use a setting spray
We won’t go into the difficult terms such as “baking” or “cooking” yet, but here’s a great tip you could try out: after you’ve set your face with a setting spray, start applying your highlight while your face is still wet from the spray. Not only will this make your skin look more radiant and dewy, your highlight will stay on longer too.
4. Start with simple products
Baby steps are important. While we gush over Youtubers and their professional contouring tricks, remember this: you aren’t there just yet (but you will be, someday). Try using contouring sticks that do not require the tricky usage of brushes or sponges, or a liquid highlighter that comes with a wand applicator. Also, keep it simple with matte powdered bronzers, and you’ll slowly manoeuvre your way through the trove of contouring beauty products.


You must be logged in to post a comment.